Processing Withdrawals
Overview
This tutorial will walk you through the steps to Process a Withdrawal in TrustBooks for either your Trust Account (Green) or Operating Account (Blue)
Steps:
- From the Navigation Pane click the Process Withdrawal link under the Withdrawals drop-down menu.

- The Process Withdrawal page is displayed. Choose which account you want to process a payment from using the drop-down menu. If you only have one account, it will default to that account.
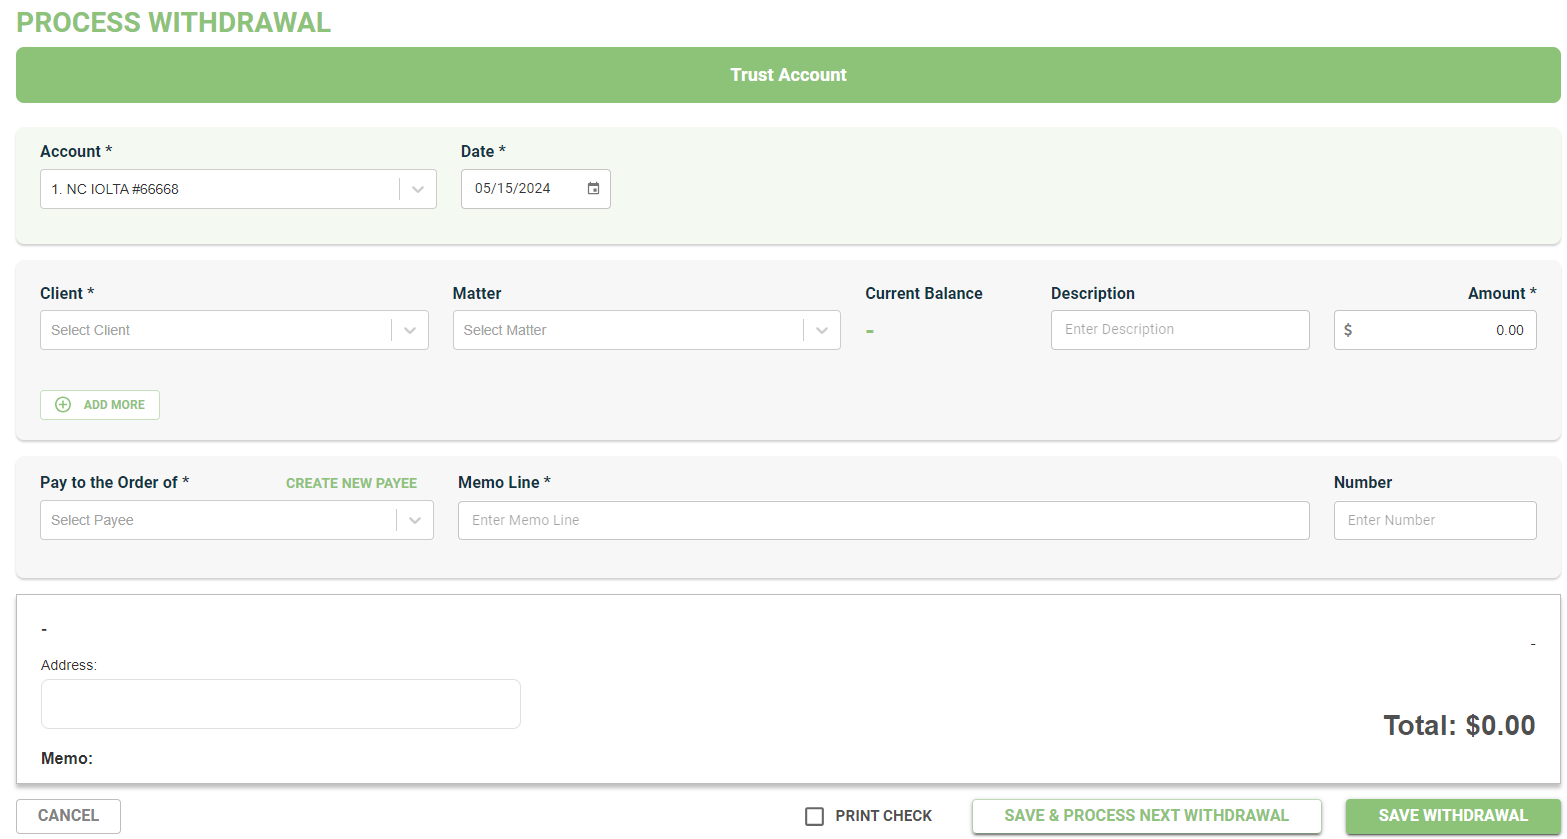
- Select the Date. This is the date payment is made.

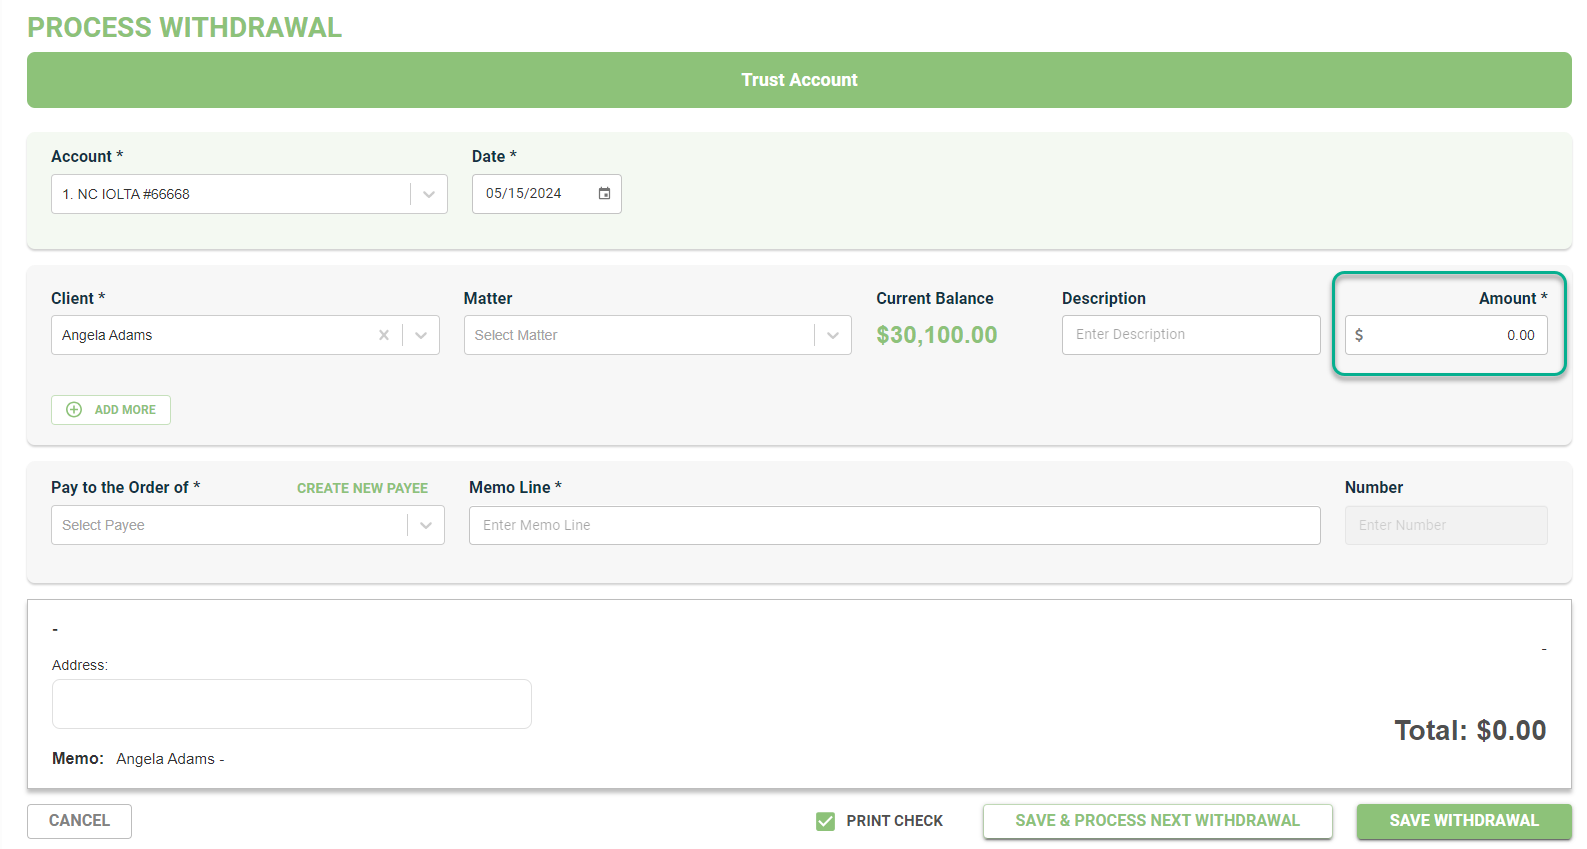
- Select the Client associated with this payment.
Once you select the Client, the Current Balance for this Client is displayed.

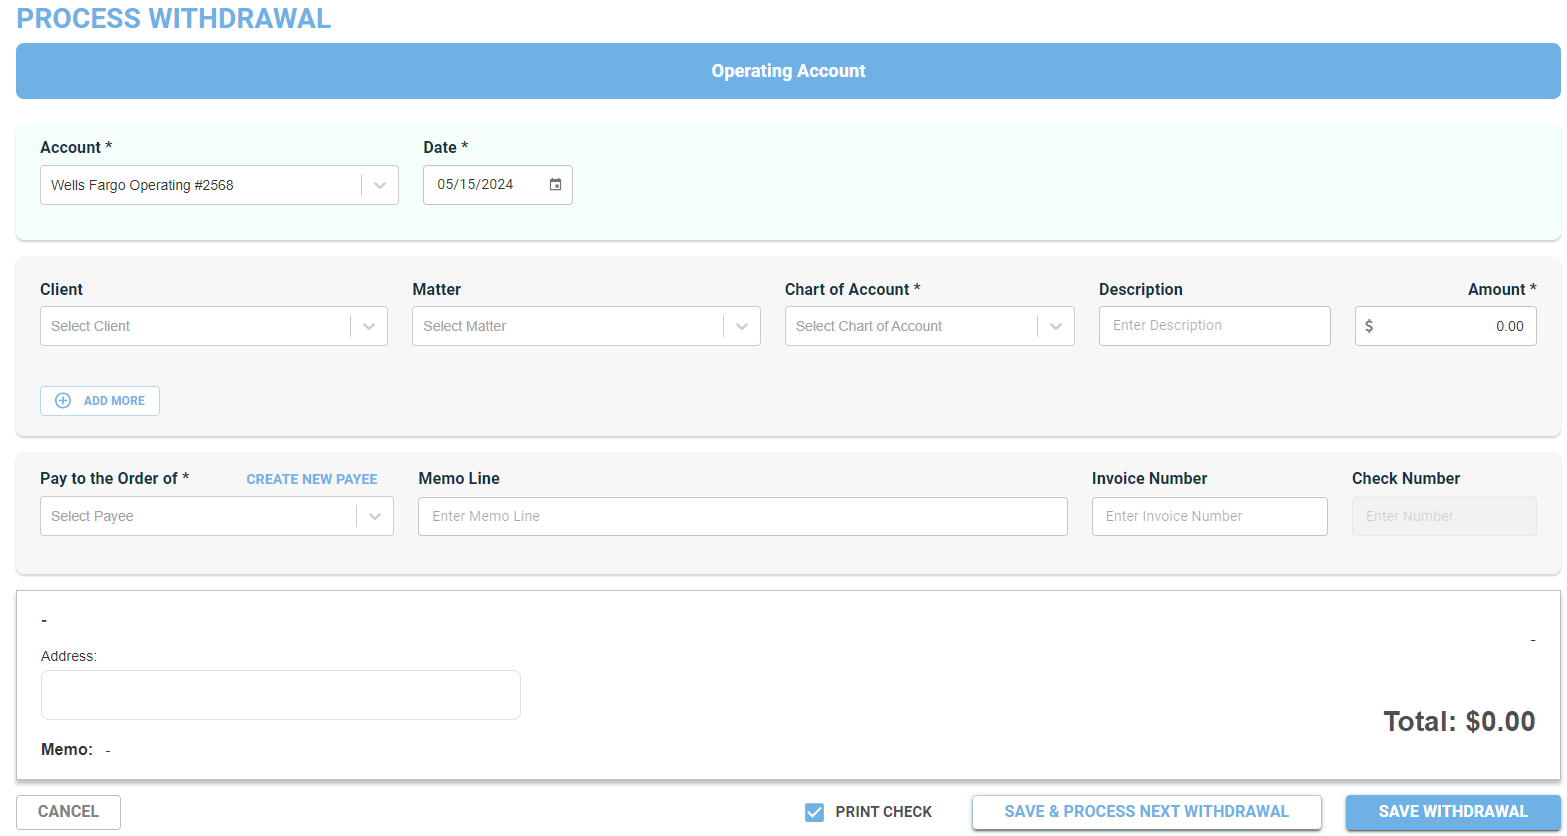
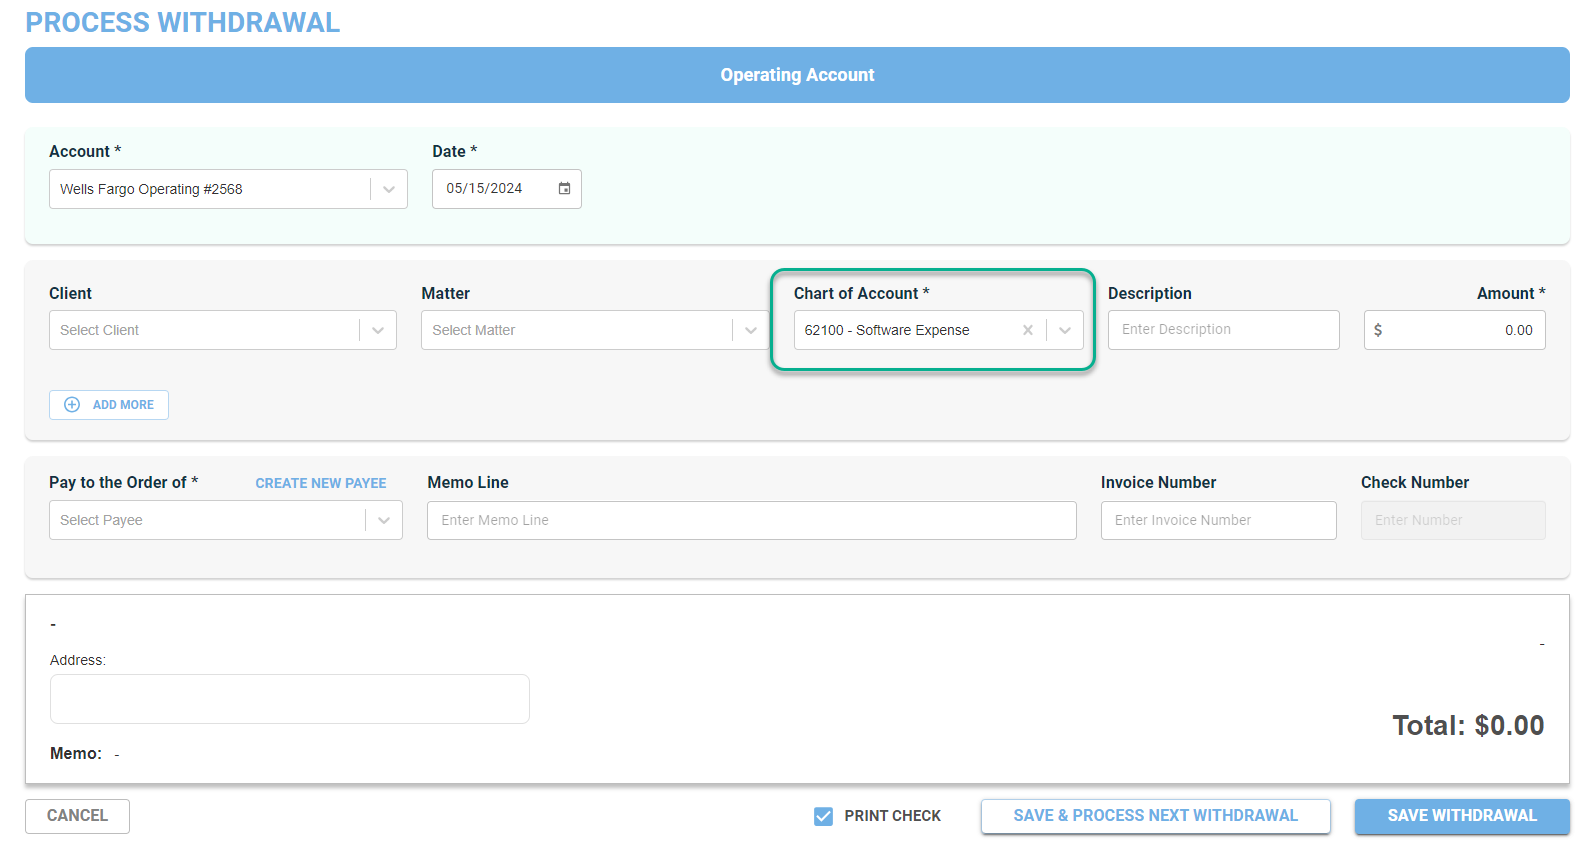
- When entering in a Payment for the Operating Account select the corresponding account from the Chart of Accounts drop-down menu.
- Enter the Amount. This is the amount of the payment.
- Enter the Number. This is the transaction number associated with this payment. For example, if payment is made by check, this would be the check number.

This will be greyed out if you are planning on printing the check from TrustBooks.

For the Operating Account an Invoice Number field has been provided.

- Click on Select Payee in the Pay to the Order of field. You can add a new payee by clicking Create new Payee.
Once you create a Payee, the information is stored in TrustBooks. You will be able to select the Payee from the drop-down box.

- Enter a Purpose/Description next to the Client's name on the Memo Line. This field requires a purpose or description of the payment.
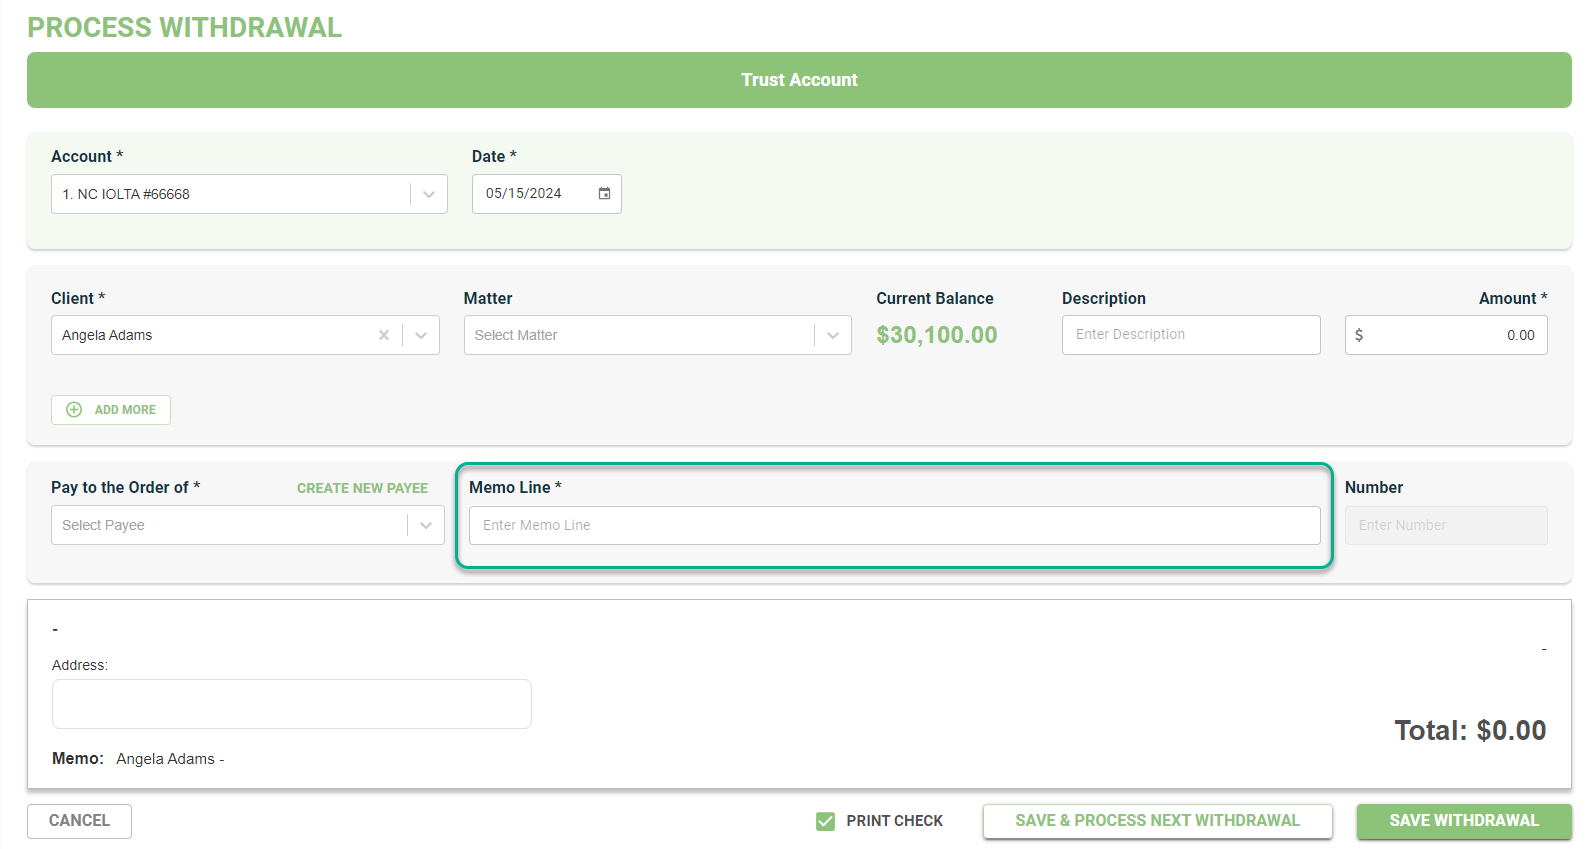
- If you plan to print this payment, select the Print Check box. This will grey out the Number field.
Skip this step if you do not plan on printing the check from TrustBooks.

You will be able to select the check number in the Print Check Window when you are ready to print the checks. You can find a tutorial on Printing Checks at the following link:
Printing Checks - TrustBooks Knowledge Base.
- Save all changes by selecting one of the Save buttons below:
Option 1: Save Withdrawal – information will be saved, and you will be redirected to the Dashboard page.

Option 2: Save & Process Next Withdrawal – information will be saved, and you have a shortcut option to go directly to the Payment page to enter the next payment.
