Creating a New Client or Matter
Overview
This tutorial will walk you through the steps to creating a New Client or Matter in TrustBooks. You must create a client before you create and assign a matter.
Steps:
Creating a Client:
- From the Navigation Pane, select Create Client under the Clients & Matters drop-down menu.

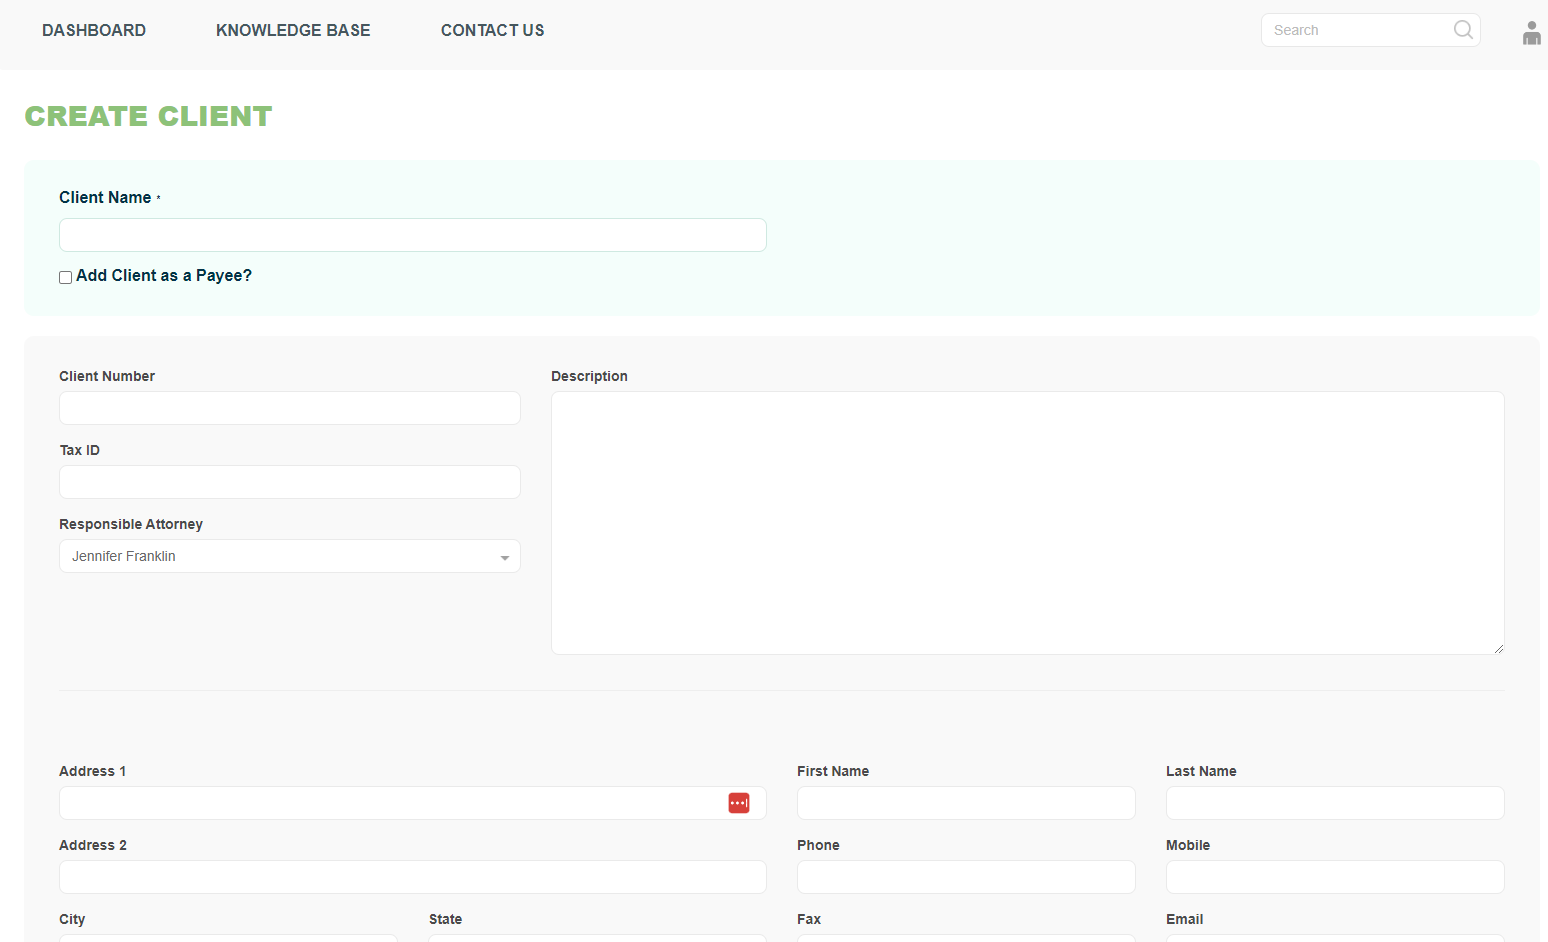
- The Create Client page is displayed. There is only one required field on this page: Client Name. If this is a person, you should determine the format your firm will use to input persons.
For Example: Your firm could enter as ‘last name, first name’ or ‘first name last name’ format.
- Select Save & Enter Deposit, Save & Create Next Client, or just Save Client. Be sure to click on one of the options before navigating away from this page.

Creating a Matter:
- From the Navigation Pane, select Create Matter under the Clients & Matters drop-down menu.

- The Create Matter page is displayed:

- Select the Client you want to assign the new matter to from the drop-down menu.

- Enter Matter Name. This is the description your firm uses to describe the specific matter for a client.

- Save all changes be selecting the SAVE button at the bottom of the page.
